

Getting the Data to Power BI
Welcome to the next post regarding Power BI.
This time, we will know Power BI from the more pleasurable side – that is, it will be practically and conveniently. Namely, we will deal with downloading data from Excel, the internet and of course SQL.
Power BI loves to load data. In that case, let’s give it some nutrients in the form of data that must be downloaded and loaded. In this post at the beginning I will briefly describe where you can save data and how to download and load data to Power BI.
That was a theory. Let’s go to practise knowledge.
How to get data from Excel to Power BI
In these part of this post I show you how we can do this from local desktop. It’s so easy and it’s so cool.
Firstly, you must prepare your workbook for Power BI. That means all your cells which contains the data must be the same colour, without total rows. Data and columns should be the same types. If your data are in outline or matrix format or pivot tables – they must be formatted as a table. And the most important things – Workbooks must be saved as .xlsx or xlsm file type and be under 1GB.
The last – good way is get your table name it will be simply recognize it in Power BI.
OK, let’s start get data to Power BI from Excel.
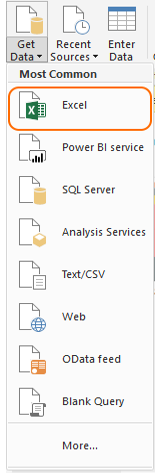
When you open Power BI desktop click Get Data and chose Excel (as you already know, you can find it on the left side ribbon).
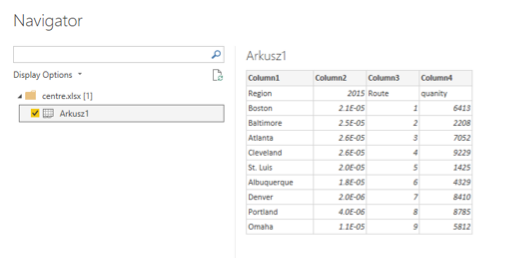
Because you chose Excel so the previous menu navigates you to your Excel workbooks. Now, it’s the place where you should click your file then you will see following window.
For this example I used my excel file. I find them in Wikipedia.
At the moment you can be little confused what should be clicked – Edit or Load? Your choice depends on what you want to do with this data. If you choice Load then Power BI loads your data to data model. But if you choice Edit Power BI opens queries editor. Here you can prepare data, modelling columns, delete column, rows and (this is the one of the best part of Power BI) you can load these clean data into to data model.
Just like you see – get data from Excel to Power BI is so easy. In the next step in this post I’m explaining how to get data from a website.
How to get data from website to Power BI
Get data to Power BI Desktop from website is not difficult. First we need website where we can practice this case. I chose Wikipedia – we will be search over there a population in UK. I have found this page for you here:
https://en.wikipedia.org/wiki/Demography_of_the_United_Kingdom
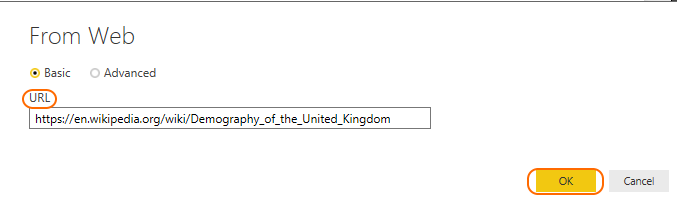
If you have opened the Power BI Desktop, select Get Data => Web.
Now copy and paste URL mentioned above and click OK.
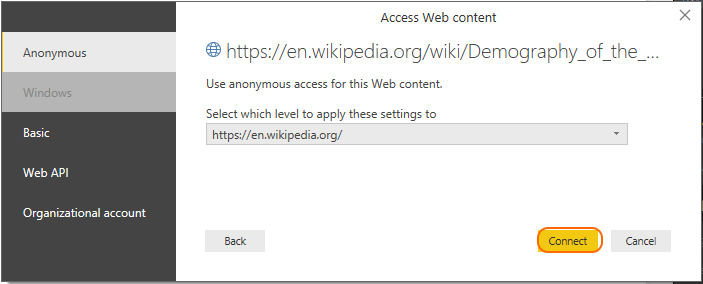
When you do this you must connect to this website.
When Power BI connects to website you will see Navigator window.
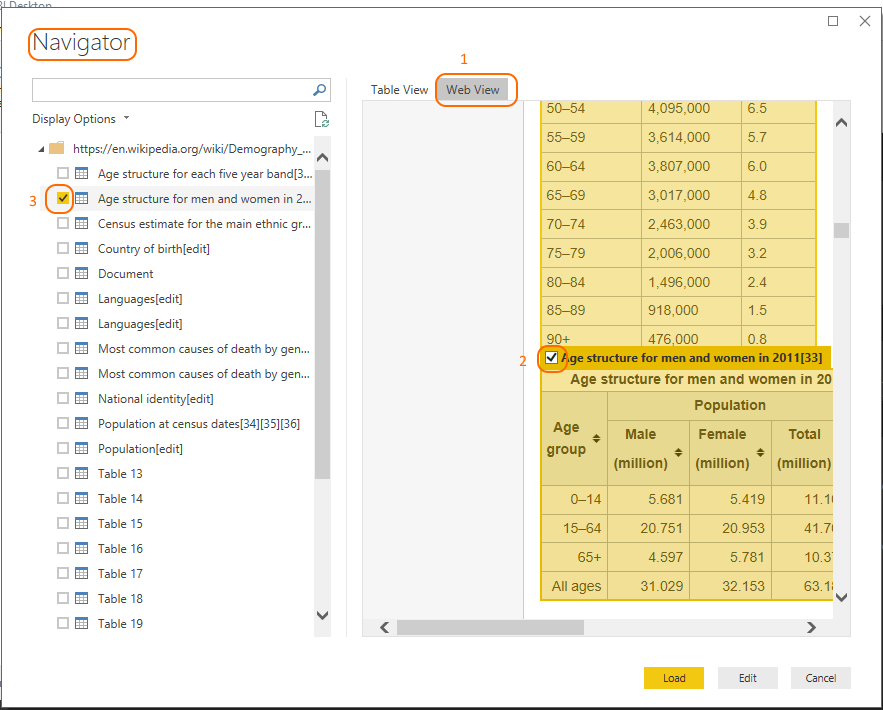
On the left hand side you can select different part of this page. You can see all table available on this site. When you click one of the check box on the right site it will be open the contents of the selected table.
First you will see then we look at the table view we can see correct data. Also, on the right you can see two buttons: Table View and Web View.
Web View
Here you can see how this table looks in the Internet. For example.If you select table “Age structure for men and women in 2011[33]” you will see how this table looks on the website.
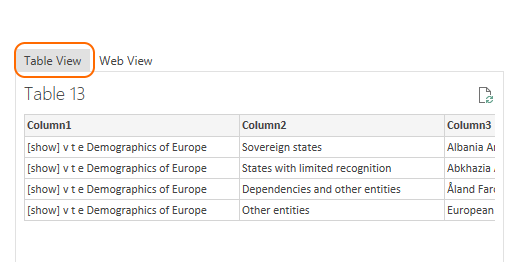
Table view
Just like above you can choice Load or Edit depending on what you want to do. (See above).
How to get data from SQL Server to Power BI
Now, I want to show you how to get data from SQL to Power BI. A beginning is as similar as getting data form Excel to Power BI.
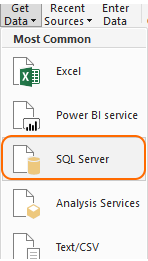
Firstly, of course you know that, we must click Get data and then SQL Server:
In order to connect to SQL Server’s source you must enter the SQL Server name and the Database name.
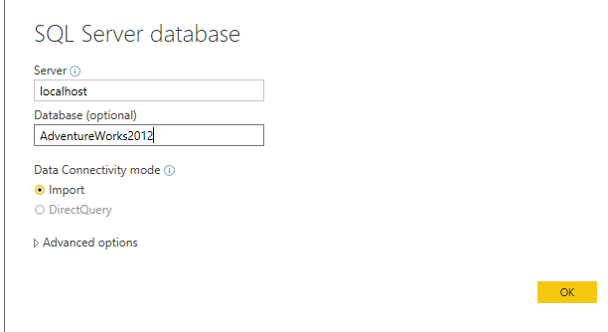
As you can see in “Server” I entered name of my local server. In second window I put name of my Database – in this case it’s AdventureWorks2012.
When you finish this part and click “ok” and you will see following window.
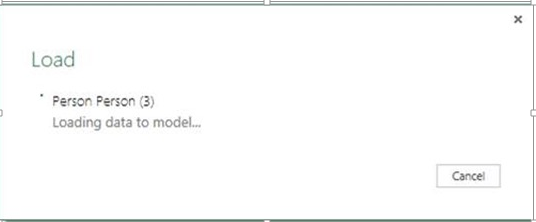
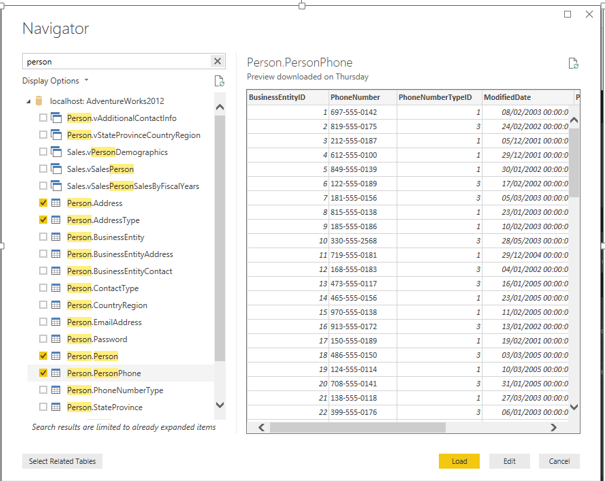
On the left you will see Display Options. There you can see a list of tables, views and functions listed for that database. Click required object and load them to Power BI. If you click one of them – there is a preview how the table looks like, on the right. How many columns they have, the name of its columns and how many rows it has.
For this example: I choose Person.PersonPhone and on the right I can see that this table has 6 columns, 22 rows etc…
Once you loaded the data, you can edit the model in Power Query or start build your report by dragging fields into the design area. Use Power BI visualization, add slicers and whatever you want. It’s your decision – have fun.
So, now you will know which type of source you can choice and how to put data from Excel, Website and SQL Server to Power BI desktop.
In next post I will show you how to edit all those data in Power Query editor.
About author

You might also like

Installation and setting up Power BI Gateway
In this short post, I will show you step by step on how to install two different modes of a Power BI Data Gateway. What is it this Data Gateway?

Starting from zero – Temporal tables, part 1
The ability to query and make use of historical data is very important for the end users. We are obliged to keep the historical data for some period of time.

How to start with Power BI Desktop
This part of blog is for a people who never had contact with programming or Power BI. I’m want to show you that is impossible understanding this amazing tools without


0 Comments
No Comments Yet!
You can be first to comment this post!