

Installation of Docker Desktop for Windows
It is the first post on series related to installation and configuration of Docker containers on the Microsoft Windows platform.
This series is for professionals who start their journey with the containers and use them with Microsoft SQL Server.
Today’s aims to complete the following steps:
- Download and install Docker
- Download and configure Git
- Clone Docker repository locally
- Check if Docker is running correctly after installation
Preparations
We are starting with the following assumptions:
- Docker will be installed on Windows 10 64-bit: Pro, Enterprise, or Education (Build 15063 or later).
- The following hardware prerequisites are required to successfully run Client Hyper-V on Windows 10:
- 64-bit processor with Second Level Address Translation (SLAT)
- 4GB system RAM
- BIOS-level hardware virtualization support must be enabled in the BIOS settings. For more information, see Virtualization.
- Computer with Internet access
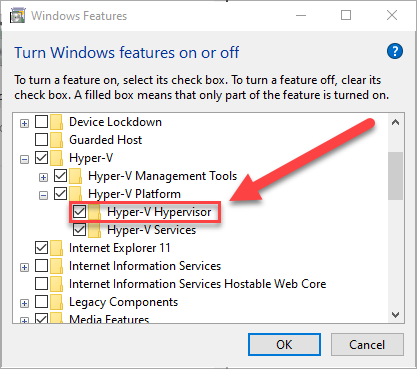
- Hyper-V and Containers Windows features must be enabled
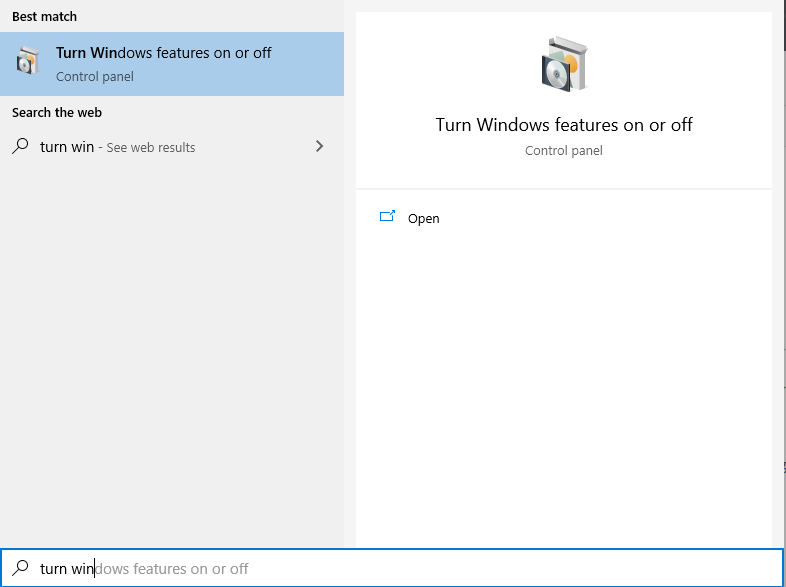
To check if Hyper-V is enabled go to Start -> Turn Windows features on or off
Check if Hyper-V Hypervisor is enabled
Docker Installation
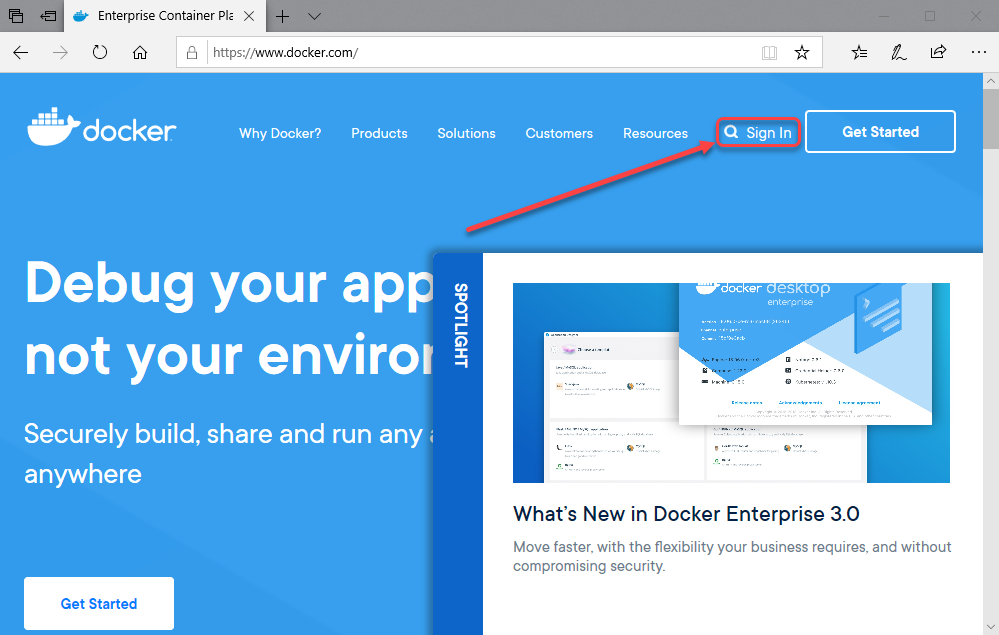
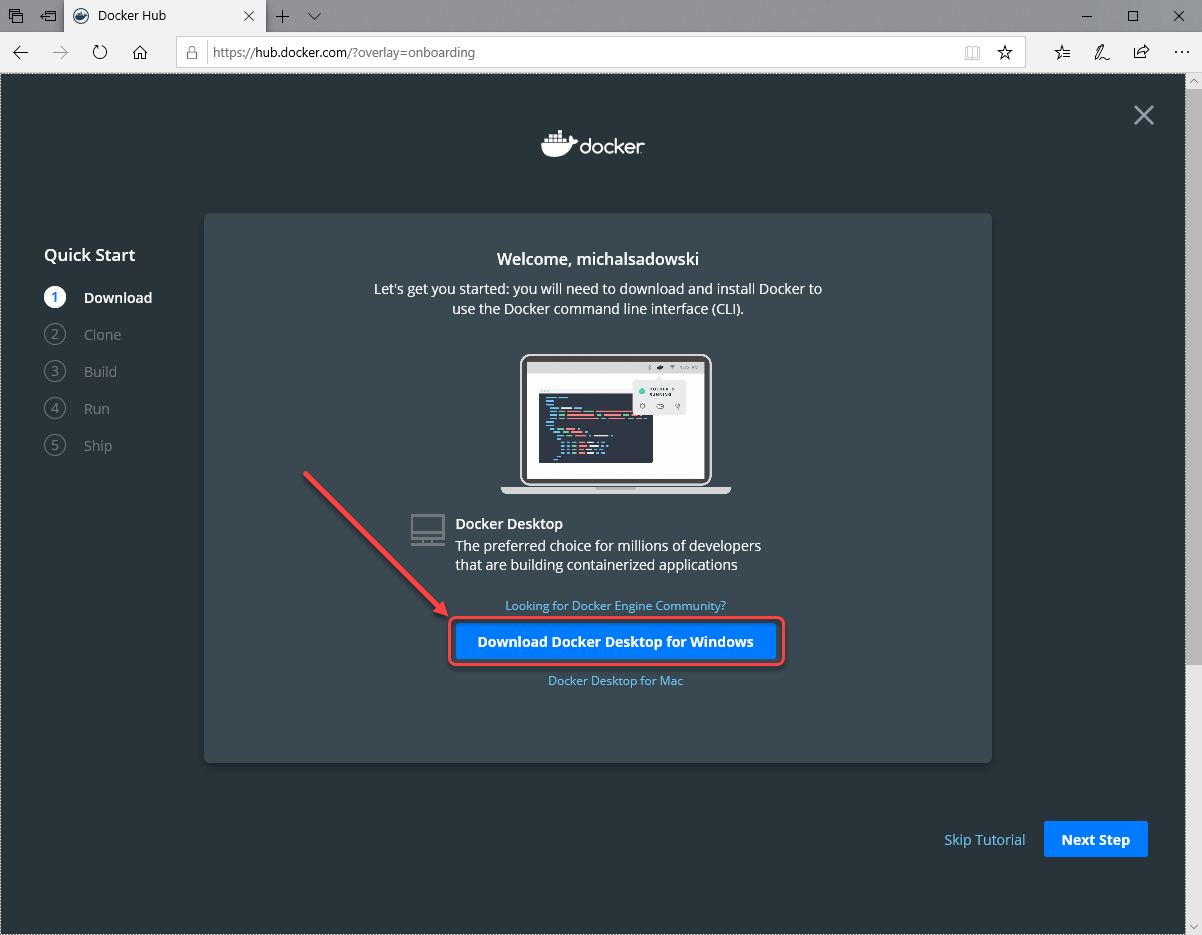
Open your favourite web browser and go to www.docker.com web page and click on Sign In.
Create a new account and login to it. Once you are logged in, you should be able to see the welcome page. Click on Download Docker Desktop for Windows
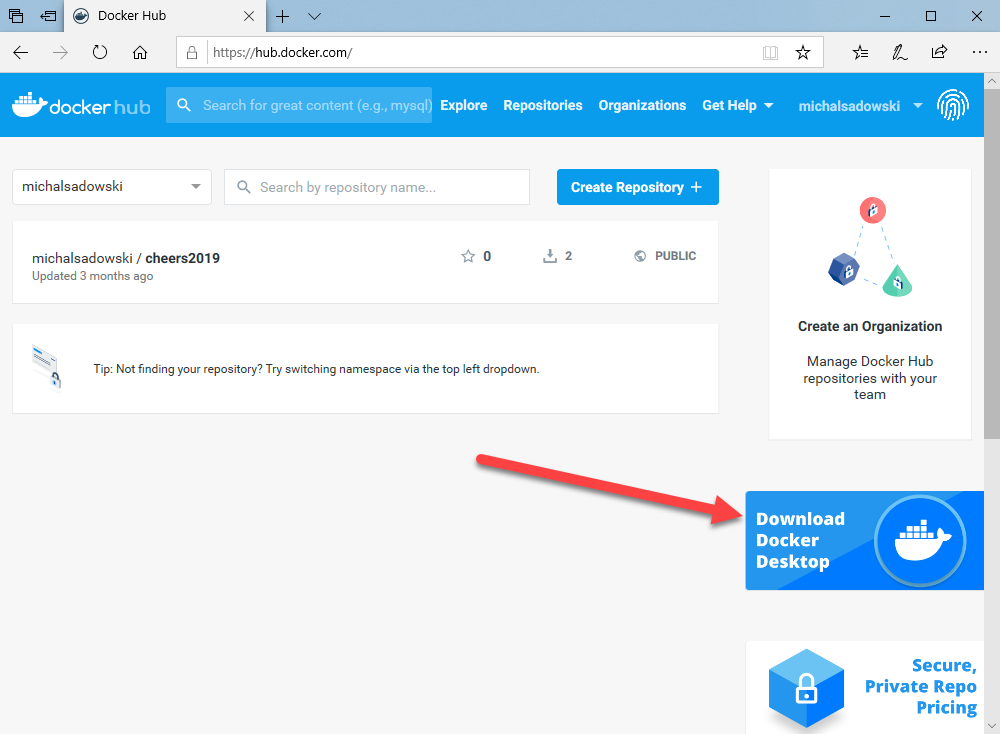
A new web page will be opened with link to Docker binaries – Download Docker Desktop for Windows
Once the file is downloaded, double click on it so installation can start. Use default options as on the screen below
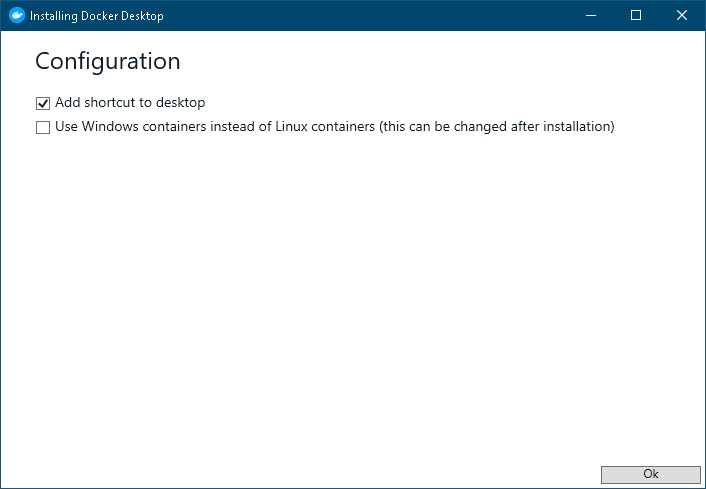
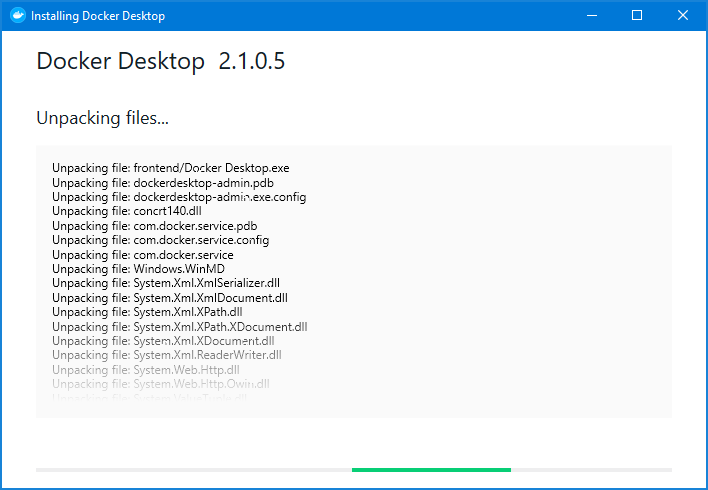
Click Ok and wait a few minutes for the installation to be completed.
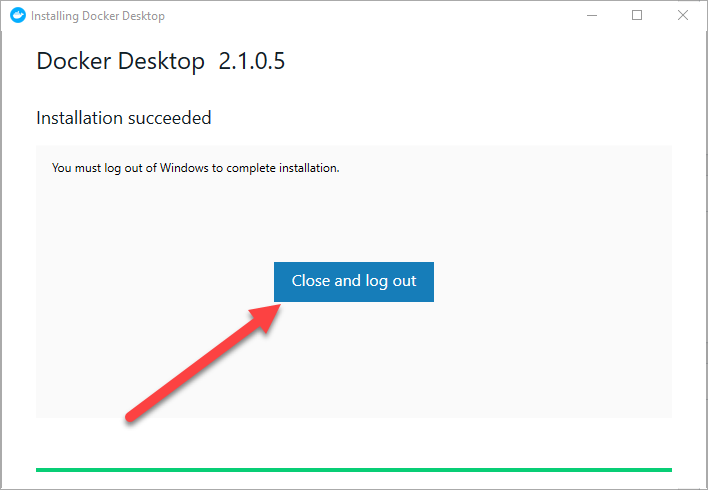
Once Docker is installed you need to log out and log in again. For best experience restart your computer.
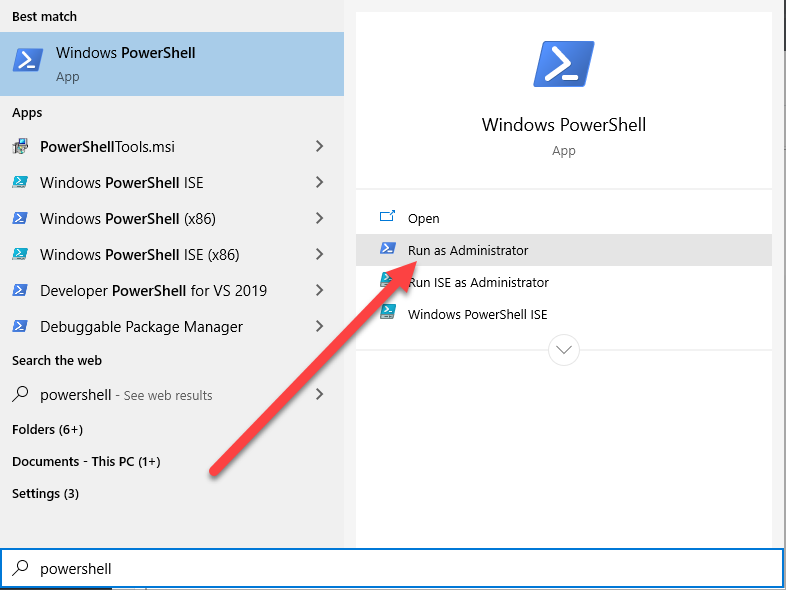
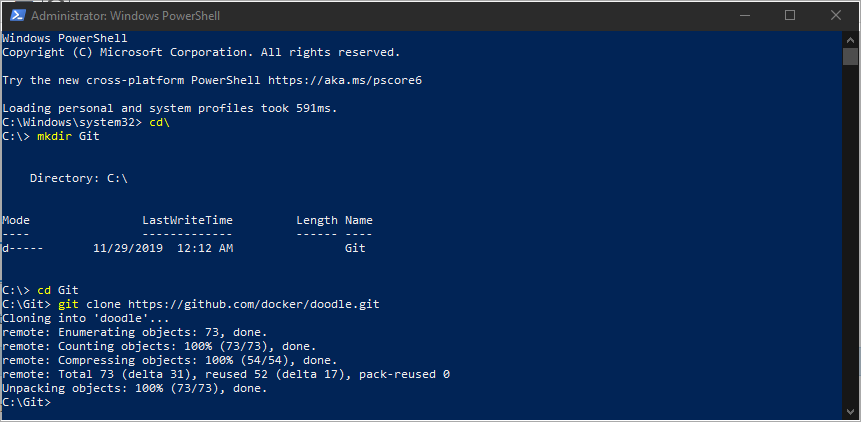
Once you are logged in again, go to Start and run PowerShell as Administrator
Run following Powershell command to clone GitHub repository locally:
git clone https://github.com/docker/doodle.git
If you didn’t have a chance to play with git before, you will probably get the following error:
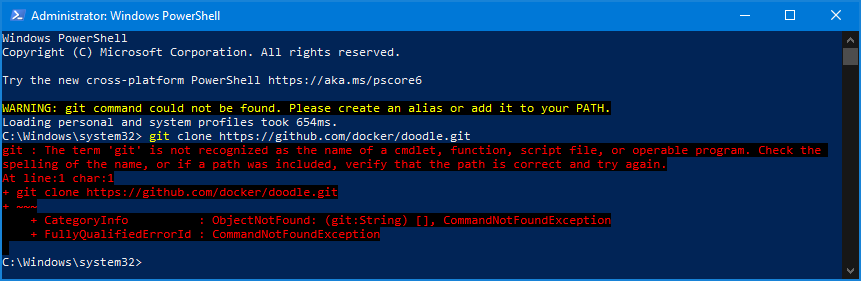
Below there are steps how to download and configure Git
Git installation
To solve this issue go to Git webpage and download the latest version of binaries
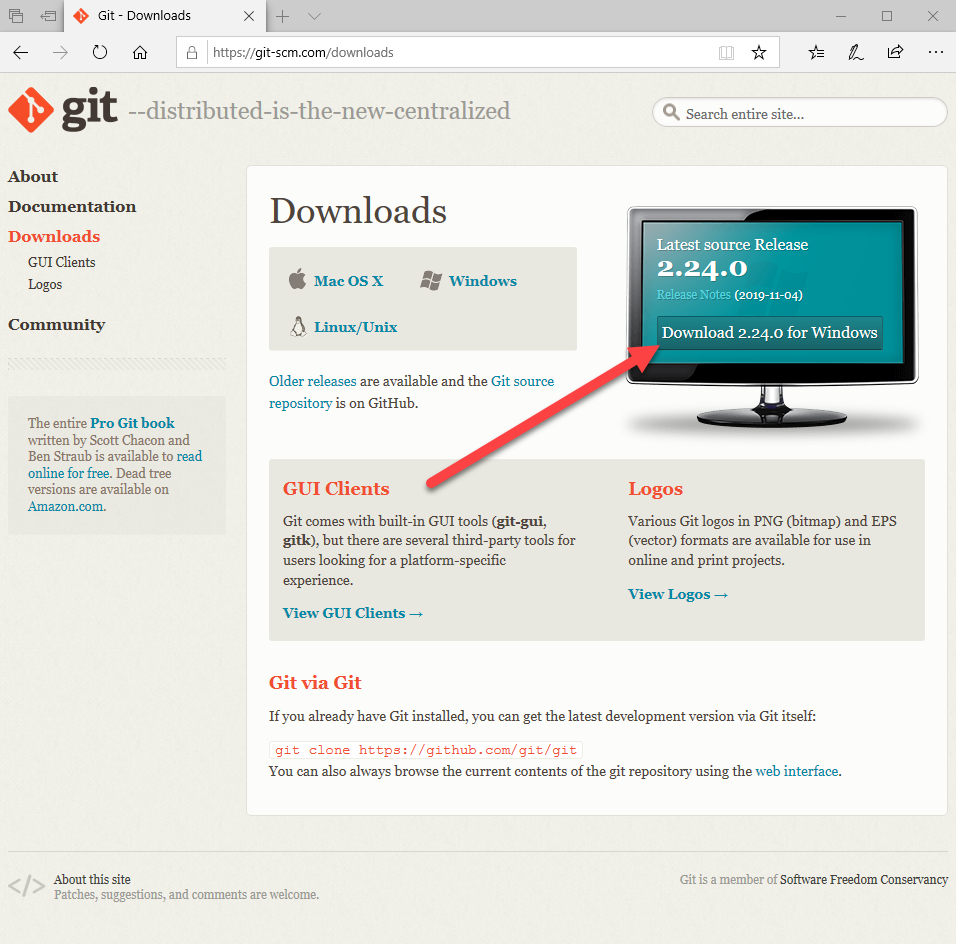
Binaries should start downloading within a few seconds, you can save them or run after download:

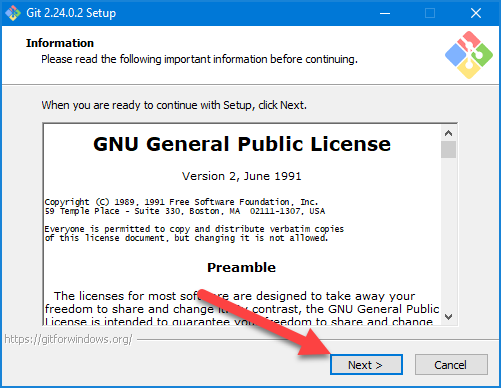
After a few seconds, (depending on your network bandwidth) installation of Git should start. Read the License and click Next.
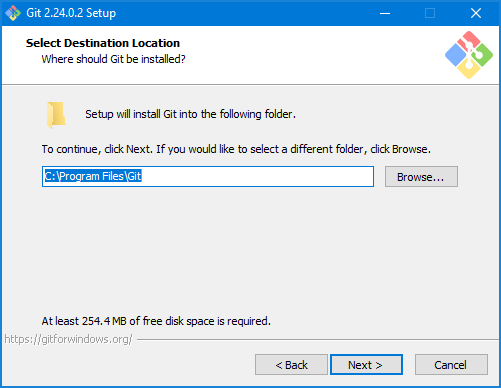
Select a location where Git binaries should be installed, in my case, I took the default one. Click Next to go to the next configuration screen
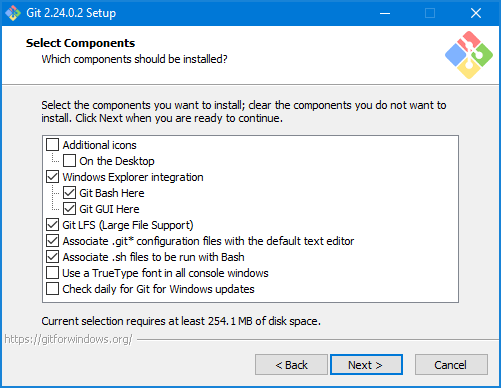
On “Select Components” accept the default components and click Next
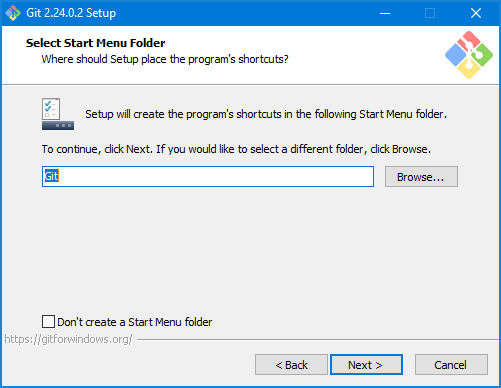
On “Select Start Menu Folder” click Next
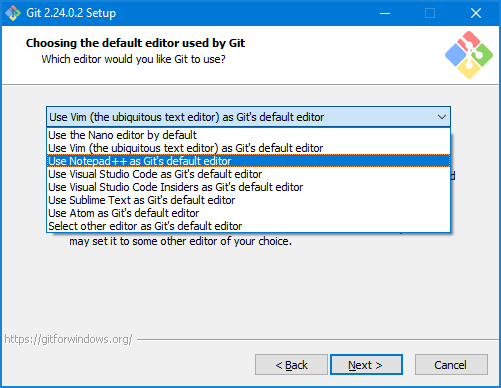
On the “Choosing the default editor used by Git”, change default one to Notepad++. If you don’t have Notepad++ installed, you can download it from this webpage
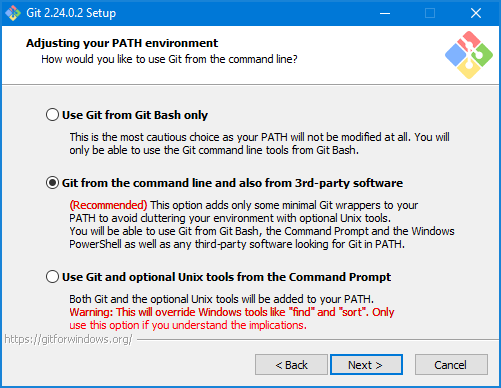
On “Adjusting your PATH environment” leave the default option and click Next
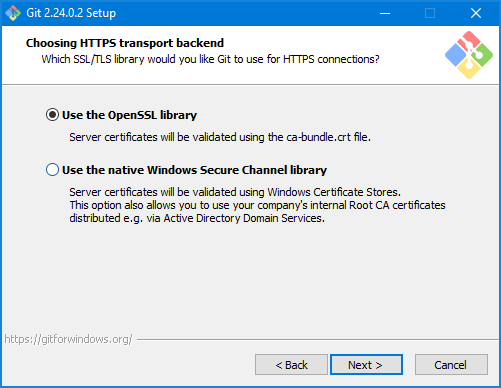
On “Choosing HTTPS transport backend”, select Use the OpenSSL library. If you are working within a corporate environment with Certification Authority configured, select the other option
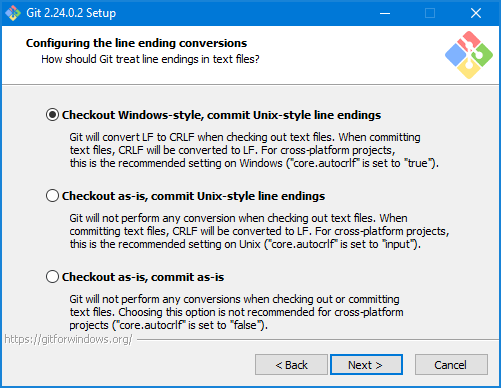
On “Configuring the line ending conversions” leave default option and click Next
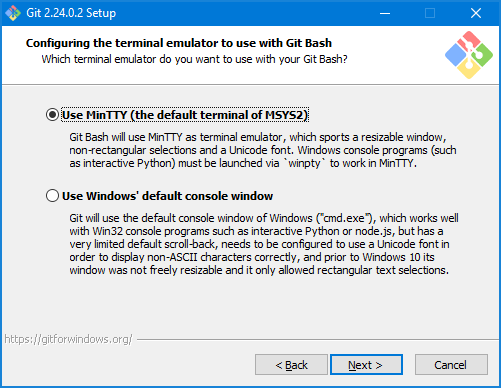
On “Configuring the terminal emulator to use with Git Bash” use MinTTY to avoid some issues of default Windows’ console window
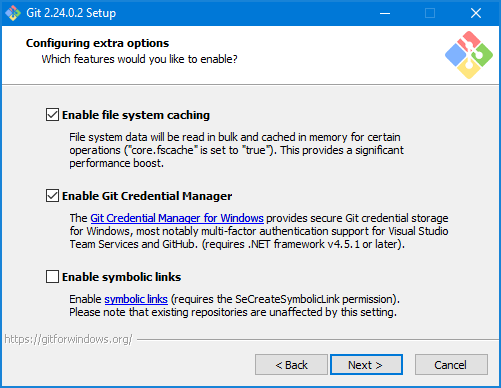
On “Configuring extra options” leave the default selection and click Next
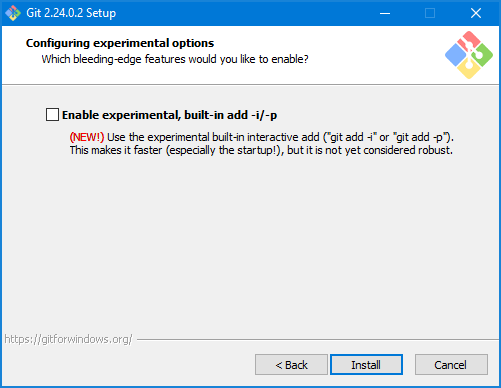
On “Configuring experimental options” leave the default selection and click Next
Wait a few minutes for the installation to be completed

Deselect View Release Notes and click Finish
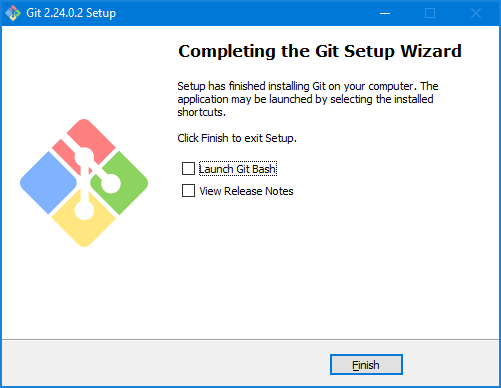
Congratulations! You have successfully installed Git.
Running the first container
Re-run PowerShell console and try to run the following commands:
cd\
mkdir Git
cd Git
git clone https://github.com/docker/doodle.git
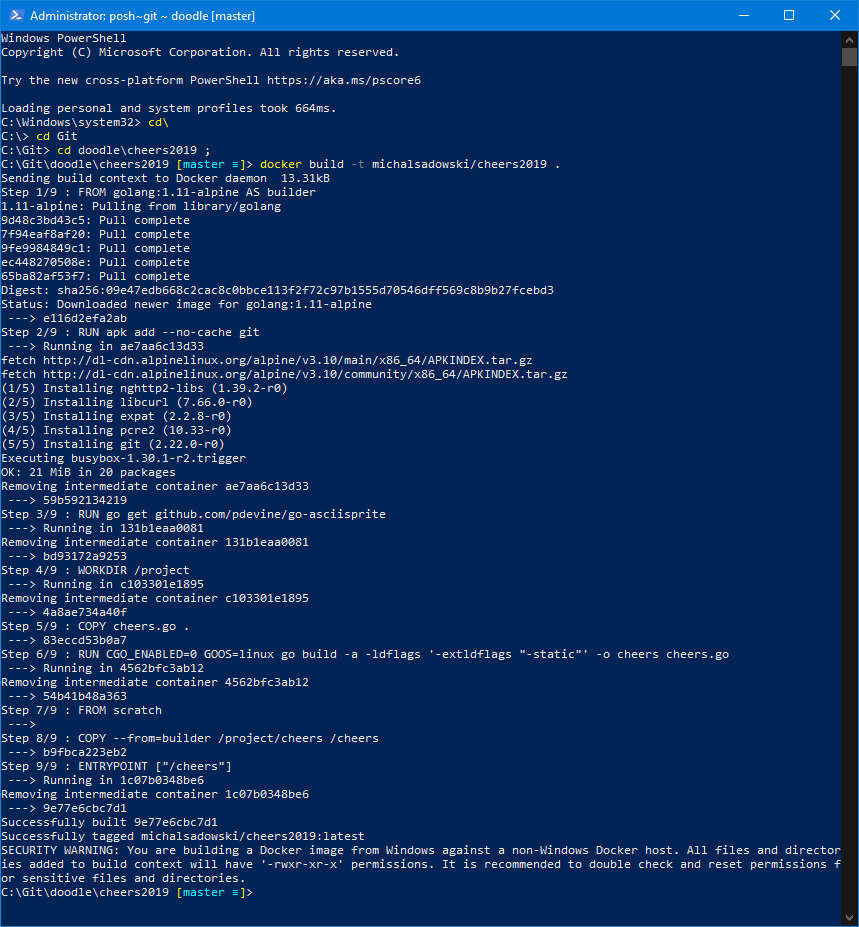
Run command to build sample solution
cd doodle\cheers2019 ;
docker build -t <your_id>/cheers2019 .
There should be the following output
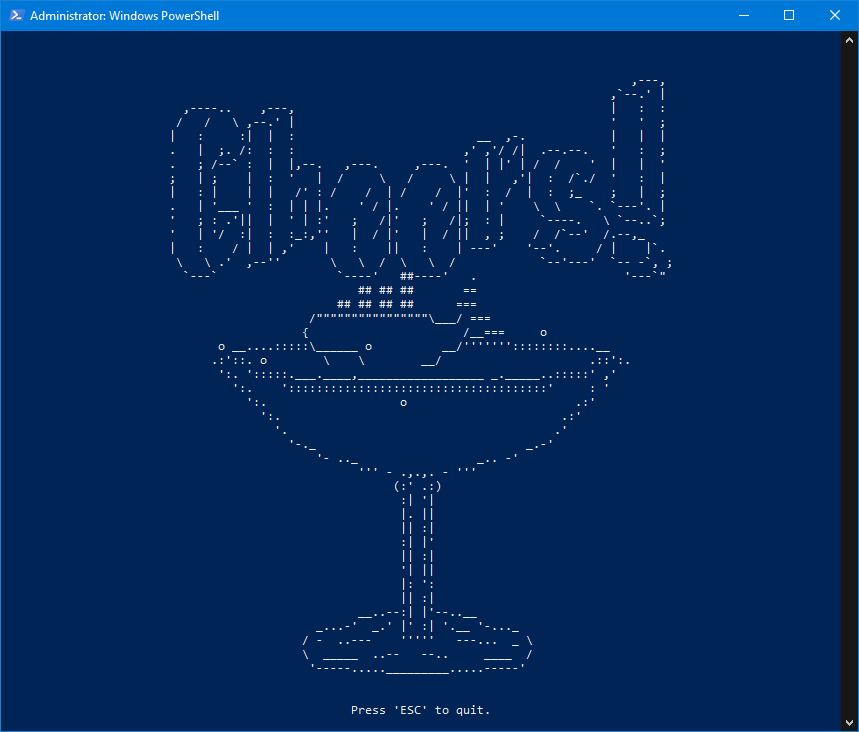
From new PowerShell window, run following command
docker run -it --rm <your_id>/cheers201
Settings of Docker
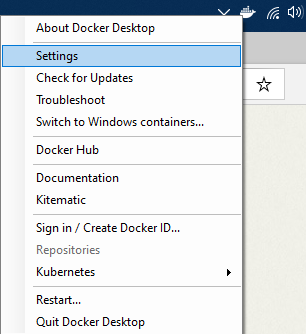
In the taskbar you should be able to see Docker icon and hovering over it should show the status of Docker. After right click on the Docker icon you can go to Settings for configuration of Docker VM:
In the Advanced settings tab, you can configure the CPU and Memory configuration of Docker
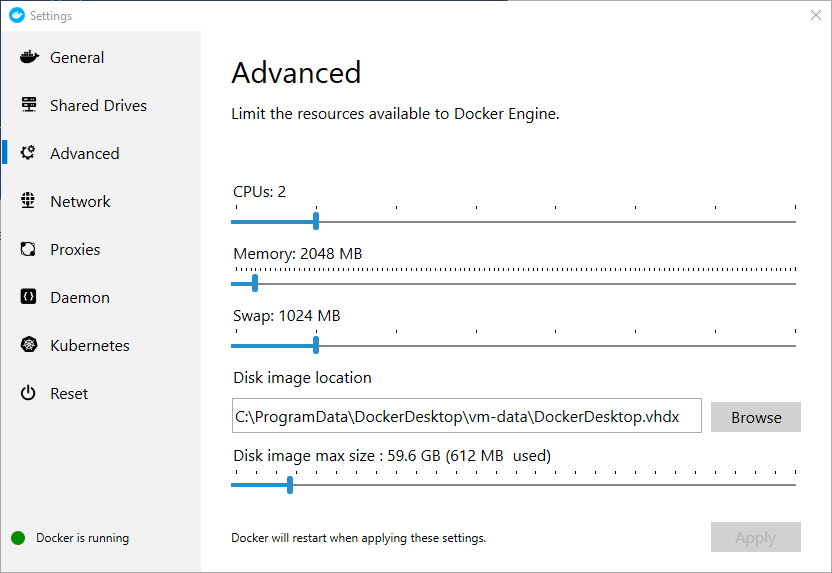
Note: all of the above settings, are applied to VM visible in Hyper-V Manager

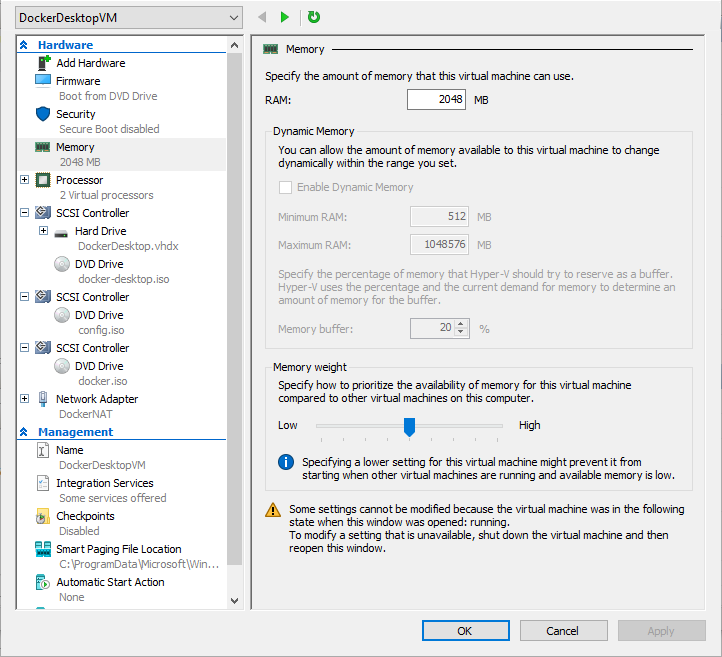
After right click on DockerDesktopVM and selecting Settings, the following window will appear
After all these steps, you have successfully installed and configured Docker and Git components.
Summary
In this blog post, I have shown step-by-step instructions on how to download, install and configure Docker and Git components.
Hope you will find these instructions helpful and allows you to start with Docker.
Next blog post will describe how we can use freshly installed Docker with Microsoft SQL Server.
Links
Docker binaries for Windows – https://download.docker.com/win/stable/Docker%20Desktop%20Installer.exe
Git – https://git-scm.com/downloads
Docker GitHub repository – https://github.com/docker/doodle.git
About author

You might also like

Installation of SQL Server using GUI
It is a second post on series related to installation and configuration of SQL Server installations. This series is for professionals who starts their journey with SQL Server administration and

Using SQL Server on Docker
This is the second post on series related to the installation and configuration of Docker containers on the Microsoft Windows platform. This series is for professionals who start their journey

Preparation for SQL Server installation
It is a first post on series related to installation and configuration of SQL Server installations. This series is for professionals who starts their journey with SQL Server administration and


0 Comments
No Comments Yet!
You can be first to comment this post!